Showing posts with label romantic. Show all posts

Monday, April 7, 2014

2014 Romantic Valentine’s Day Bedroom Decorations Ideas

Valentine’s Day is a holiday of love and those who are in love. It is a day to spend with your love and get more intimate moments with her/him. So. let’s prepare the home for unforgettable romantic moments with your love. Except you will surprise her/him with a Valentine’s present and Valentine’s card, let’s decorate your bedroom in a valentine’s spirit. It will make the atmosphere more romantic and intimate. Romantic Valentine’s Day bedroom decorations are easy to make. There are some stuffs which are symbols of Valentine’s day, such as flowers, rose’s leafs, heart balloons or any other decoration in a shape of heart. And of course, you can make the night more romantic with a bottle of champagne just for two of you. Woow, it sounds so romantic to me!!

Well, begin to think about Valentine organization and surprising your love. Get some idea of romantic Valentine’s Day bedroom decorations below. Make your Valentine perfect and unforgettable and get the most intimate moments with your partner. So, enjoy your Valentine with your love and stay in love forever.


Saturday, April 5, 2014

2014 Romantic Handmade Valentine's Day Cards Ideas

Whip up cute and creative cards for Valentine's Day . You'll love these ideas to try in 2014! I hope you find the perfect idea for your special someone. .... Enjoy it !!!!


Design by Lisa Spangler : Lisa tied a ribbon around the front of her card base to ground the design, then layered cardstock, patterned paper, and a decorative label over the ribbon to create a focal point.
Editor's Tip: Look for embellishments that coordinate with your patterned paper and title, like the cherries on this card.
SOURCES: Cardstock, stamp: Hero Arts. Patterned paper: Cosmo Cricket. Ribbon: May Arts. Ink: Tsukineko. Pen: Copic (red, brown, green), Sakura of America (black). Glitter glue: Ranger Industries. Embossing tool: Cuttlebug by Provo Craft


Design by Tracy Kyle : Tracy used patterned paper printed with sweet sentiments to create a colorful background on this Valentine's Day card. She dotted the "i" of her greeting with a heart for a seasonal touch. Editor's Tip: Tracy added subtle interest to her card by placing a heart of rhinestones behind her card sentiment. For an opposite effect, punch small holes in a shape on your card front, letting the inside of the card show through.
SOURCES: Patterned paper: Scenic Route Paper Co. Stickers: Li'l Davis Designs (letters), Making Memories (red heart). Gems: Heidi Swapp.


Design by Lisa Storms : To create this clever card, Lisa embossed a wood-grain pattern on brown cardstock, then inked the edges to help the texture stand out. She added a die cut, piece of patterned paper, and stickers to simply embellish the greeting.
Editor's Tip: Missing a letter or punctuation mark? Use your creativity to cut one from another sticker. Lisa snipped a piece from a "P" to make her quirky question mark.
SOURCES: Cardstock: WorldWin Papers. Patterned paper: BoBunny Press. Stickers: BasicGrey (bird), Die Cuts With A View ("you be mine?"), Heidi Grace Designs ("wood"). Die cuts: My Mind's Eye. Punch, texture plate: Fiskars.


Design by Tracy Kyle : A die cut tree branch grounds a script-letter sentiment on Tracy's glittery valentine. Nontraditional colors create a modern look.
Editor's Tip: Look for heart-shape embellishments, like the button Tracy added to her card, for subtle reminders of the season.
SOURCES: Patterned paper: Making Memories. Die-cutting tool: Cricut by Provo Craft. Stickers, buttons: Doodlebug Design


Design by Tracy Kyle : A simple owl piecing gives Tracy's card a cute, trendy look. She covered the character in hearts and placed it on heart-pattern paper to play up the holiday theme.
Editor's Tip: Rather than spelling out your sentiment, choose a symbolic way to share your greeting. Tracy let her valentine know what's on her mind by filling a thought bubble with a chipboard heart.
SOURCES: Cardstock: Bazzill Basics Paper. Patterned paper: Heidi Grace Designs. Glitter paper: Doodlebug Design. Chipboard accent: Scrapworks. Eyes: Westrim Crafts. Embossing plate: Sizzix. Die-cutting tool: Cricut. Punch: EK Success.


Design by Lisa Spangler : Lisa layered strips of patterned paper and stitches to create dimension on her valentine. A ribbon bow tied around the card front coupled with a thread tie at the front of her button accent complete the design.
Editor's Tip: Turn notebook paper on its side and use the rough edge to create a decorative border on your Valentine's Day card, as Lisa did here.
SOURCES: Cardstock, stamps: Hero Arts. Patterned paper: Little Yellow Bicycle. Die-cutting tool: Cuttlebug by Provo Craft. Ribbon: Jo-Ann Stores. Ink: Tsukineko. Punch: EK Success.


Design by Lisa Spangler : Lisa created her card base from half cardstock, half patterned paper. She completed the design with a large die-cut frame. The decorative edges add whimsy to a simple rectangle card.
Editor's Tip: Hide the seam of two papers coming together with a decorative ribbon, like Lisa did here. SOURCES: Cardstock, gems, stamps: Hero Arts. Patterned paper: Little Yellow Bicycle. Die-cutting tool: QuicKutz (large frame), Spellbinders (small frame). Ribbon: Making Memories. Ink: Memories (red), Ranger Industries (distress), Tsukineko (black). Pens: Copic. Glitter glue: Ranger Industries.


Design by Lisa Spangler : Make your valentine sparkle by embellishing with gems, as Lisa did. Rhinestones placed in a line draw attention to her greeting and a trio of jewel hearts adds color and dimension.
Editor's Tip: Get a special handmade feel by using notebook paper as a base and adding simple sayings in a typewriter font. (You can change the opacity of your text in image-editing software to get the faded look.) SOURCES: Cardstock, gems, stamps: Hero Arts. Patterned paper: Little Yellow Bicycle. Ribbon: American Crafts. Ink: Stewart Superior (pink) Tsukineko (brown). Pens: Copic. Punch: EK Success.


Design by Tracy Kyle : Use a circle cutter or template to cut circles from patterned paper and adhere to the folded cardstock base. Cut coordinating border strips from cardstock; add ribbons and a printed tag. SOURCES: Cardstock: National Cardstock. Patterned paper: Daisy D's Paper Co. (floral), Anna Griffin (paisley), and The Paper Company (collage). Circle Coluzzle template: Provo Craft. Tag: Making Memories.


Design by Tracy Kyle : Fold cardstock for the card base and add strips of black. Attach flower-shape tags with decorative brads and ribbon. Add a metal sentiment charm.
SOURCES: Flower-shape tags: Autumn Leaves. Ribbon: May Arts. Brads and metal word: Making Memories.


Design by Cathy Blackstone : Cut a heart from fabric and adhere it to the cream cardstock. Ink the cardstock edges and zigzag-stitch the cardstock to the card front. Stamp a message and heart tags; attach as shown.
SOURCES: Cardstock: Bazzill Basics Paper. Rubber stamps: Hero Arts. Stamp ink: Nick Bantock for Ranger Industries (brown) and Clearsnap (pink).


Design by Candi Gershon : Attach patterned paper and vellum to the card front with mini brads. Wrap a length of ribbon around the front panel and secure matted letters with adhesive dots. Add paper flowers and cover the ribbon ends inside the card with pink cardstock.
SOURCES: Cardstock: Bazzill Basics Paper. Patterned paper: SEI. Printed vellum: American Crafts. Punch-out letters: Mustard Moon. Brads: Lasting Impressions for Paper.


Design by Candi Gershon : Cut patterned paper to fit the folded card front. Add a library card pocket. Attach a computer-printed message to the pocket and insert a handwritten library card adorned with stickers and a ribbon. Stamp hearts on the cardstock, cut them out, and mount.
SOURCES: Patterned paper and letter stickers: Me and My Big Ideas. Computer font: Miss Priss downloaded off the Internet. Card pocket: Kopp Designs. Library card: Boxer Scrapbooks Productions. Rubber stamps: Stampin? Up! (large heart) and PSX (little heart). Stamp ink: Close To My Heart.


Design by Jennifer McGuire : Attach cardstock to the folded card front and add a swatch of coordinating fabric. Add a square of textured cardstock, more fabric, and a small silver charm adorned with ribbon.
SOURCES: Cardstock: Bazzill Basics Paper. Textured paper: The Jennifer Collection. Heart charm: Hap's Memories.


Design by Jennifer McGuire : Mount a piece of dark pink cardstock on the front of a folded card and stamp the heart pattern with white ink. Cut light pink cardstock into a curving corner shape and attach. Cover the curve with threaded buttons and paper flowers and add rub-on sentiment.
SOURCES: Cardstock: Bazzill Basics Paper. Rub-ons: Autumn Leaves. Rubber stamps: Hero Arts. Stamp ink: Tsukineko.

DIY Easy Romantic Handmade Valentine's Day Cards 2014 Ideas

Whip up cute and creative cards for Valentine's Day . You'll love these ideas to try in 2014! I hope you find the perfect idea for your special someone. .... Enjoy it !!!!


Design by Jennifer McGuire : Mount matted patterned paper on the card front. Add a matted square of pink cardstock and a silk flower accent. Stamp a message on white cardstock and cut into a circle shape. Mat and mount in the flower center.


Design by Tracy Kyle : Align strips of patterned paper on the card front, leaving a thin margin between them. Add ribbon, acrylic charms, and paper flowers. Use decorative scissors to cut a scalloped edge along the right side.


Design by Cathy Blackstone : Stitch together two pieces of black cardstock to form the card base. Cut pink paper to fit the front and ink the edges. Lightly tack down the ribbon and machine-stitch in place. Add a rub-on message and adhere to the card front.


Design by Nia Reddy : Don't hide your feelings -- make a clear statement with a see-through pocket for embellishments. Cut a plastic slide holder into pieces, and attach a strip of pockets to the front of a card. Fill the pockets with punched hearts and stickers, and add a clever title that plays off the transparent look.


Design by Nia Reddy : Use type to create a card that makes a graphic statement and can be reproduced in mere minutes. Fill a text box with color in your word-processing program, and vary the size and color of your type. Print on cardstock, and accent with a punched heart.


Design by Nia Reddy : Give a simple card a sensual feel with elements cut from fabric. Snip a swatch of bold-print fabric and stitch it to the card front. Add a heart cut from velvet, and attach a printed tag with a color brad.


Design by Cathy Blackstone : Start with a purchased card base and some fun pink fabric to craft a simple and sweet card. Mount a swatch of fabric on the front panel, and add a square of cardstock with a decorative edge. A stamped "XO," a heart cut from cardstock, and coordinating accents bring it all together.


Design by Erica Hernandez : Hand-cut a heart-shape window in the card front using a die cut or dingbat font as a template. Back the window with a printed transparency -- make your own or buy one -- and frame with strips of cardstock and nailheads.


Design by Erica Hernandez : Use children's art as the focal point of a handmade card. Adhere the art resize using a color copier or a scanner and image editing software if needed and add computer printed text for a design that's easy to mass produce. A fun patterned bow finishes the look.


Design by Erica Hernandez : Create a custom accent with your computer that can be used time and again. Layer text and images in your editing software and print the finished piece on photo paper for a slick finish. Add a length of printed ribbon to cover the seam where the two colors of cardstock meet.


Design by Patricia Anderson : Chipboard letters and a large heart cut from leather-finish paper work together to form a card with a sophisticated look. Stamp coated chipboard letters with Staz On ink (it won't smear on coated surfaces). Rub on flourishes add an elegant finishing touch.


Design by Patricia Anderson : Use pages intended as mini-book inserts to create an original card. Join the pages with ribbon, and accent the blank sheets with soft curves of patterned paper. Purchased chipboard phrases spell out the sentiment, and a shaped chipboard piece packed with a stamped transparency is a simple graphic.


Design by Patricia Anderson : Create a card with visual depth by punching a window in the center and backing it with a piece of transparency. Stamp on the clear film, or use a preprinted version for more interest. A soft curve cut into the patterned paper and simple machine stitching around the edges add oomph.

Wednesday, November 7, 2012

Rambling Today

Several weeks ago we went to Boise shopping and stopped in at The Cheesecake Factory. It had been a very long time since we'd eaten there but I wanted cheesecake desperately.
I had the half chicken salad sandwich with salad but they also brought me a cup of soup. This was much more than I anticipated! I told him to bring me a box immediately as I would never be able to eat all of it. I didn't even touch the soup, ate half of the sandwich and salad and brought the rest home. We both told them to add in 2 pieces of cheesecake to take home also. I refuse to share my slice of cheesecake with anyone.  That lunch was $45 and a bit more than we thought it would be but very good. But it was also more than most people could possibly eat unless they were hogs! I'm not. It was truly fantastic.
*
At the rate of weddings in Hollywood, the career to have is wedding planner. You'd never ever want for a job! I simply cannot believe the turnaround in husbands and wives in that city. Surely with all their offspring, every single person there is related to at least 99% of the others. It would be ugly trying to fill out your lineage chart down there. Sheesh...
*
 Awhile back I heard someone say that something was totally impractical for their lifestyle—can't remember what it was—but it was desirable to have. I told her to change her lifestyle then. It's that simple and if I recall it was something good. Why can't someone change their lifestyle? We certainly did and it's brought blessings more than we can count to our lives.
*
I've also noticed that some people are a bit lean on their answers. Wonder what that's about or what they don't want to say.
~*~


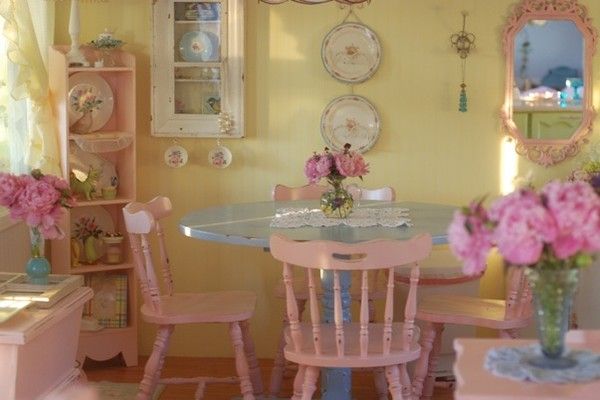
This looks like a little girl's kitchen for play but it is indeed a woman's cute kitchen dining area.


A fabulous cabin.


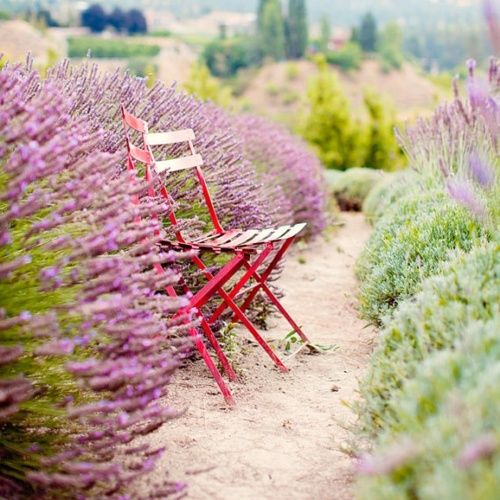
Pretty chair in a field of lavender.


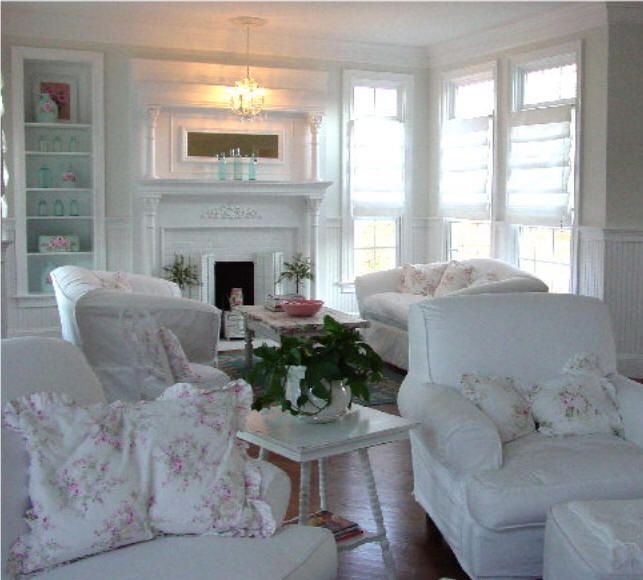
A very pretty white living room with roses prints all around.


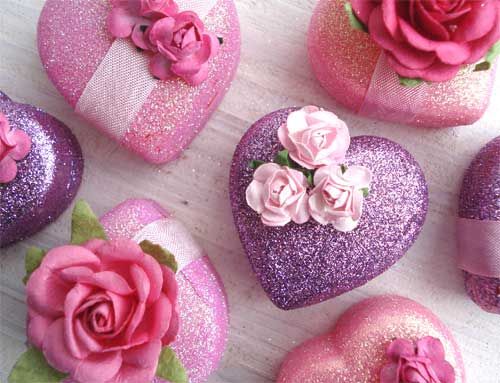
Sweet hearts to enjoy.


Cute open shelving but I really like the cans on the shelf.


Someone's sweet vignette.


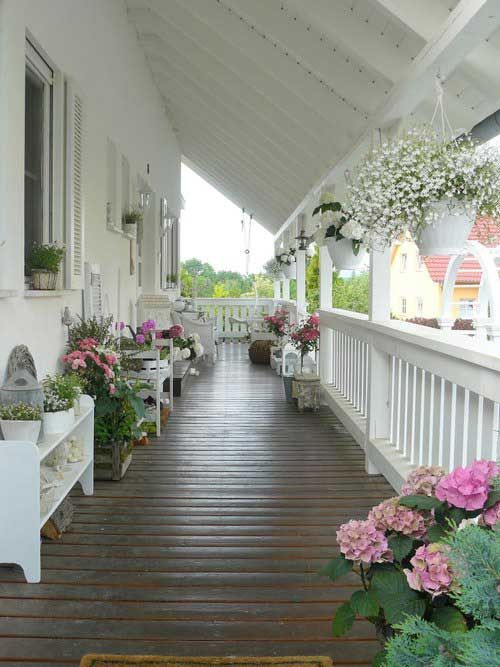
A luxuriously long porch with vivid flowers all over.


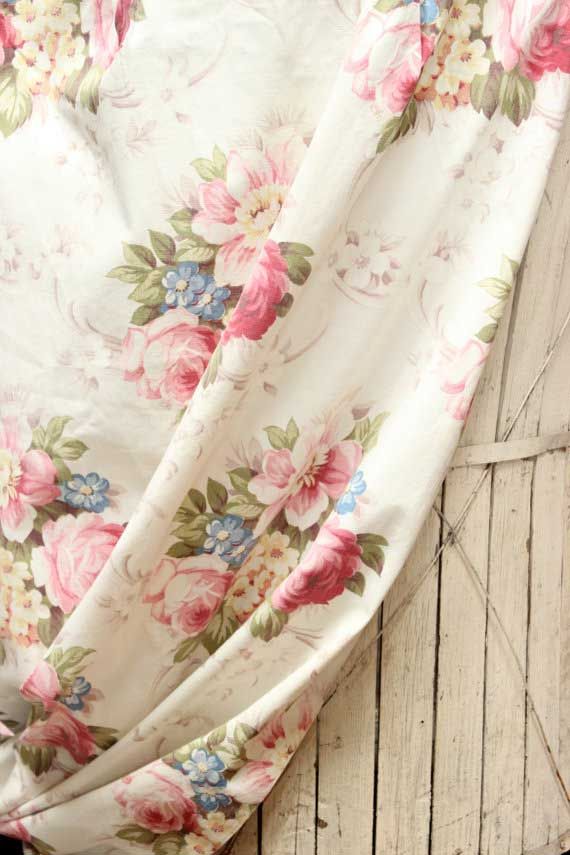
Pretty rose fabric juxtaposed against an old door.


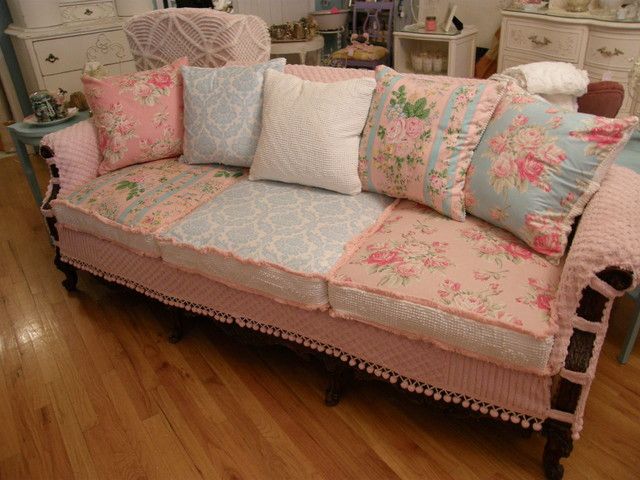
I like this adorable sofa but I'd put it in a family room.


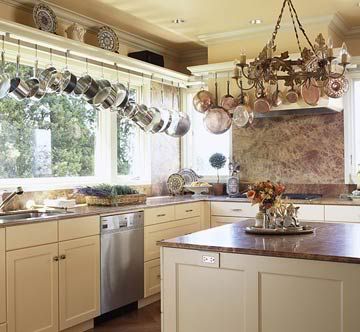
The kitchen of a very serious cook! I don't have near those pots and pans and I manage. The drawback is I have to cook, which we all KNOW I hate!


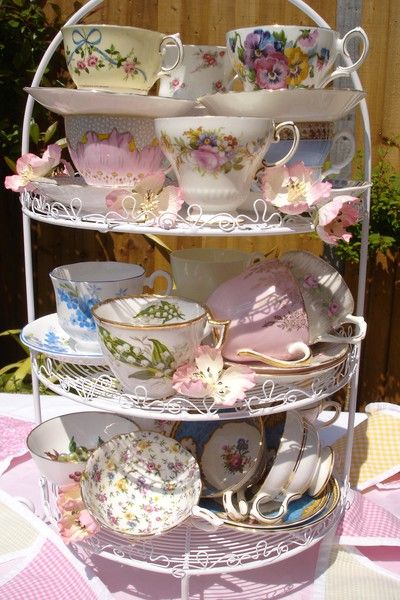
Interesting way to display pretty teacups.


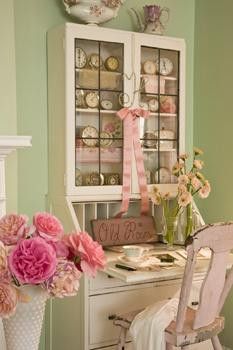
Pretty little office area. I like the green and pink together also.


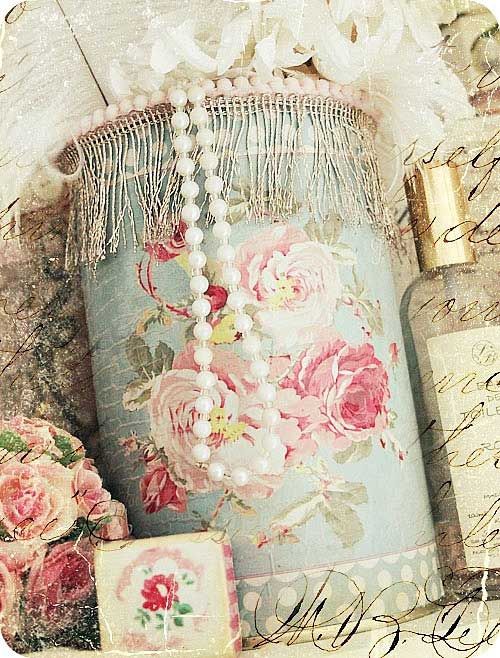
Cute redecorated can.


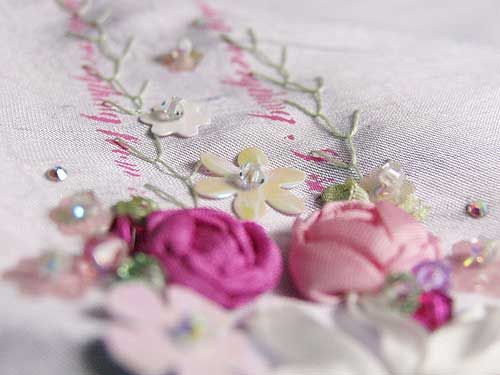
Lovely embroidery.
~*~
Linking up with SSS.